Please review our Gophish – Part 1 blog to ensure you are ready to proceed with configuring Gophish with Gandi before proceeding with the following blog post below.
In this part 2 post of the Gophish series, White Oak Security will be configuring Gophish with a mail server by utilizing Gandi, a domain name registrar.
Gandi Domain Configuration
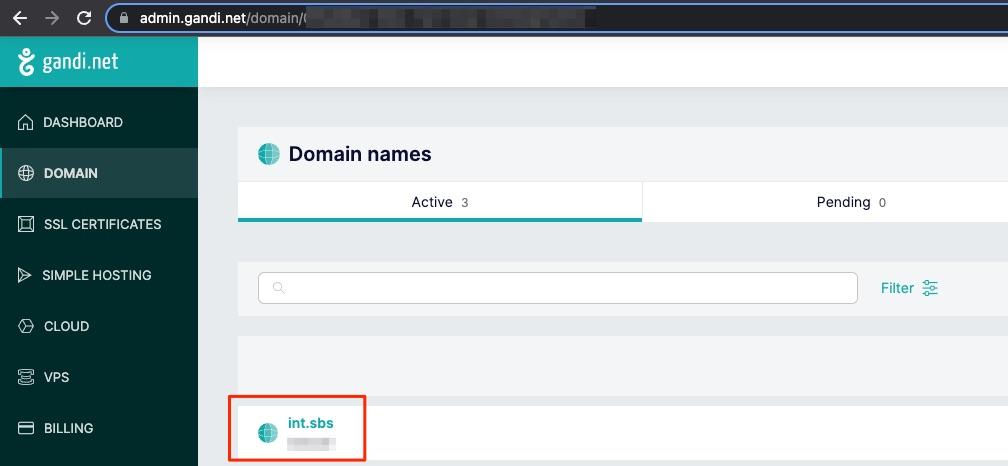
Purchasing a domain with Gandi will display the purchased domain with the admin console (as shown below):
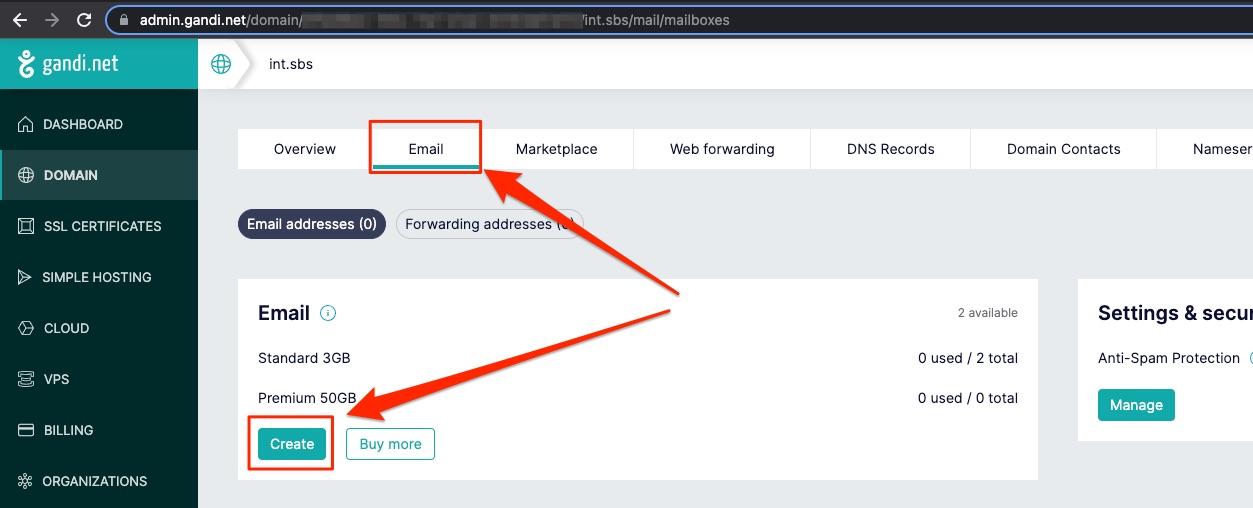
Clicking on the domain purchased will present additional settings that can be configured. The first option to setup is creation of an email address (as shown below):
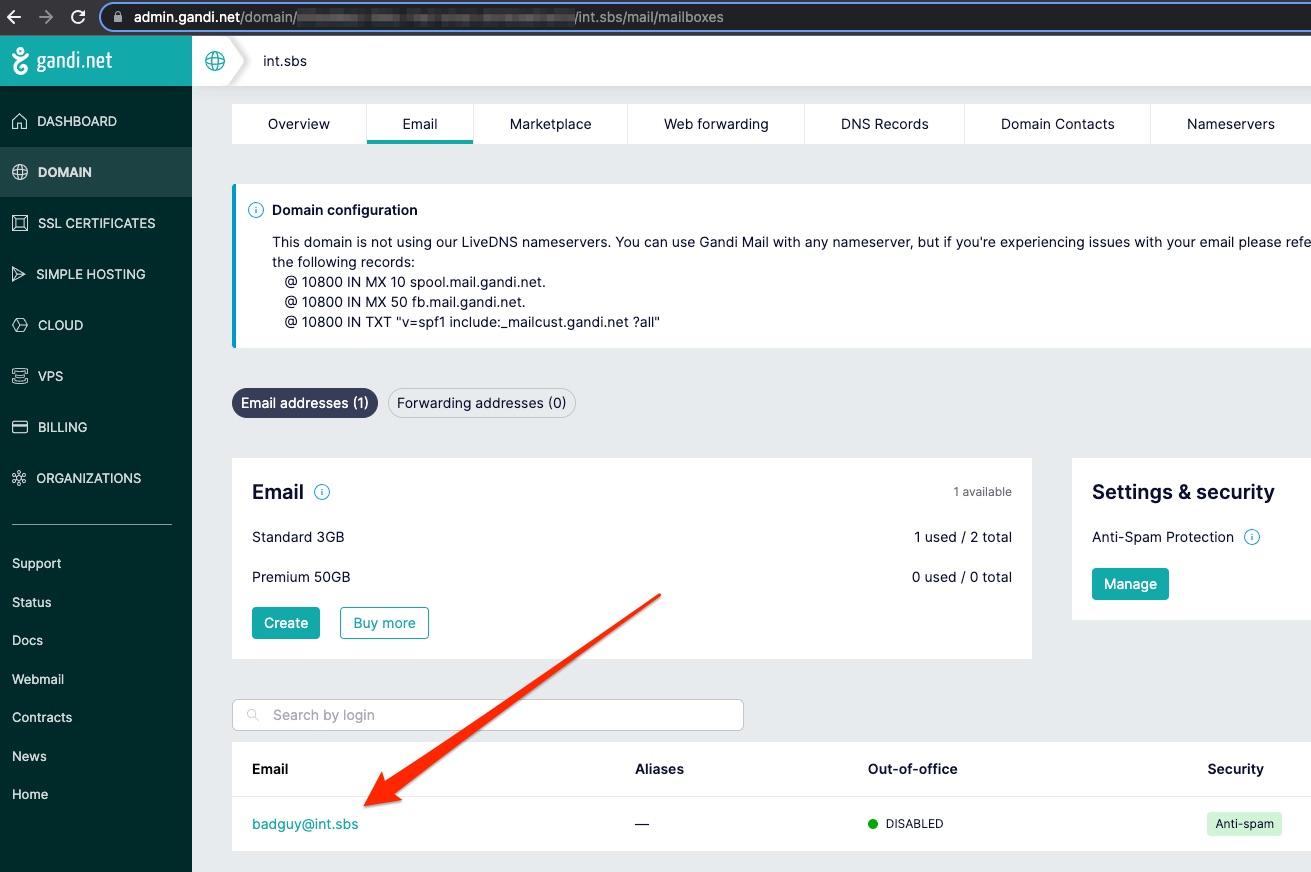
After successful creation, the address will be shown below the email section (as shown in the screenshot below):
Gophish Setup
Let’s switch gears back to the Gophish server. After logging into the administrative interface, we will now configure a sending profile and test the email send functionality.
Selecting the “Sending Profiles” will allow a user to configure a SMTP profile connected to Gandi’s mail servers.

The profile configuration page will be as shown below:

The following fields should be filled:
- From: The from name / email address
- Host: mail.gandi.net:587
- Username: Email address configured in Gandi
- Password: Email address password configured in Gandi
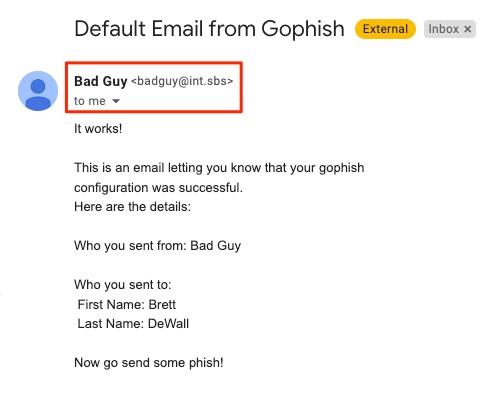
Selecting the “Send Test Email” function will allow an email to be sent to an end user. As we can see in the screenshot below, the test email was received and the settings worked as expected.
With this information, you can get a domain configured and a test phishing email received. In further blog posts, we will work on configuring Gophish to use specific phishing scenarios.
Stay tuned!
In case you missed it, here is Gophish Setup – Part 1.
MORE FROM WHITE OAK SECURITY
White Oak Security is a highly skilled and knowledgeable cyber security testing company that works hard to get into the minds of opponents to help protect those we serve from malicious threats through expertise, integrity, and passion.