This is one part of a series of posts on how to prepare your API for a pentest. Other posts are located here: Insomnia.
Similar to web applications, web APIs (Application Programming Interfaces) should undergo security testing to determine whether or not any vulnerabilities exist. However, an API may not be as straightforward to test as a web application. It may not be possible to provide a URL to a pentester and say test everything underneath this. As such, pentesters should ask for test data and the ability to access the API for security testing. In this post, we will focus on using the Postman program to provide data.
About Postman
Postman is a ‘collaboration platform for API development.’ Developers can use Postman to share ‘collections’ of API calls to perform QA testing of their application. It supports REST and SOAP calls and has the ability to plug into CI/CD pipelines and provide mock services.
How and Why Pentesters Use Postman
Very simply, Postman is used to proxy pre-built and known good API calls into various Intercepting Proxy tools (such as Burp or OWASP ZAP). Using pre-built test data will greatly speed up the pentesting timeframe, often lowers the pentest project cost, and provides higher pentest report quality. From there, pentesters use the Intercepting Proxy to perform various active and manual testing by interacting with the API directly. Oftentimes Postman does not need to be used again after performing the initial API call.

How to Use Postman to Create Data for Pentesting
If you already use Postman within your environment and want to provide the data for pentesting, please scroll down to the ‘Exporting Postman Collections’ section.
These instructions are the bare minimum sets of data in order to provide test data for a pentest. There are many more features within Postman, but this will be what you need to get off the ground.
After installing the Postman client for your operating system, start it up. There may be a welcome screen but feel free to close it, as all steps listed in this blog will bypass the welcome screen.
There are is just one Postman term we need to know about – collections. Collections are just what they sound like – they are a collection of different API calls gathered in one group. Oftentimes a collection will contain every method that can be called within an API endpoint (creating, modifying, and deleting data would count as three methods in this example). Environments are groupings of various different variable data that allow you to switch test data quickly. For example, if you have an API call in a collection, you can use two different Environments to switch between a test and production environment, or between two different examples of test data, such as an API call to get the profile for client A and client B.
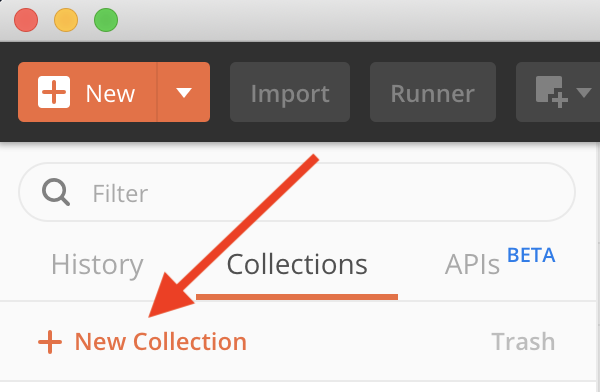
To get started, let’s create a collection. Click ‘New Collection’ on the left side.
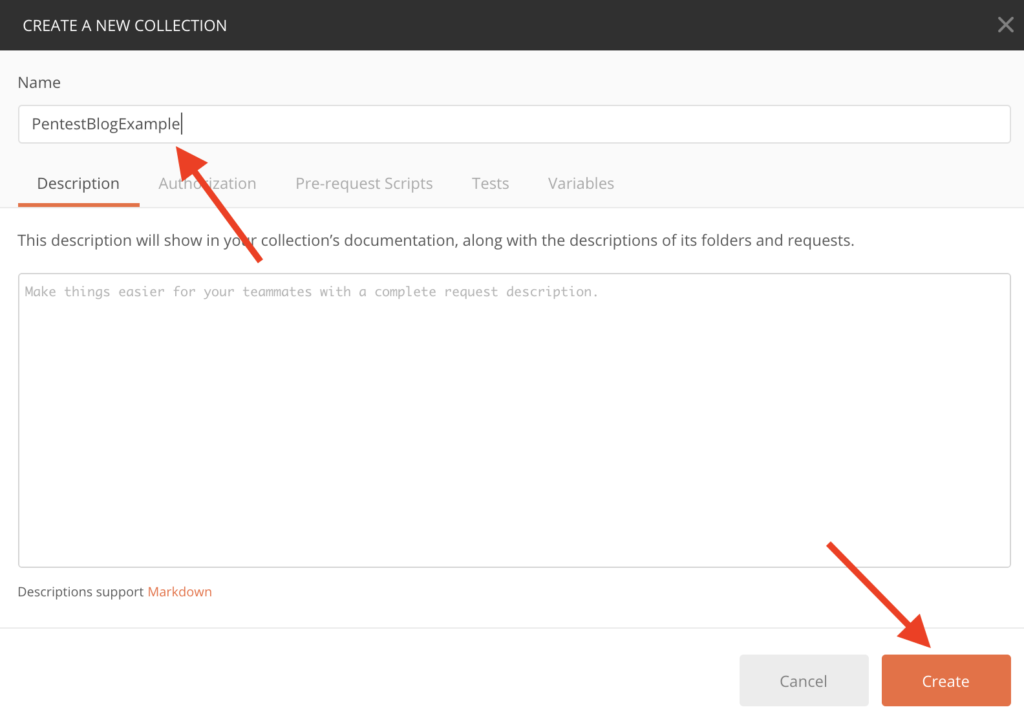
Give it a name that makes sense for your application and will be a unique name for your pentest and click ‘Create’.
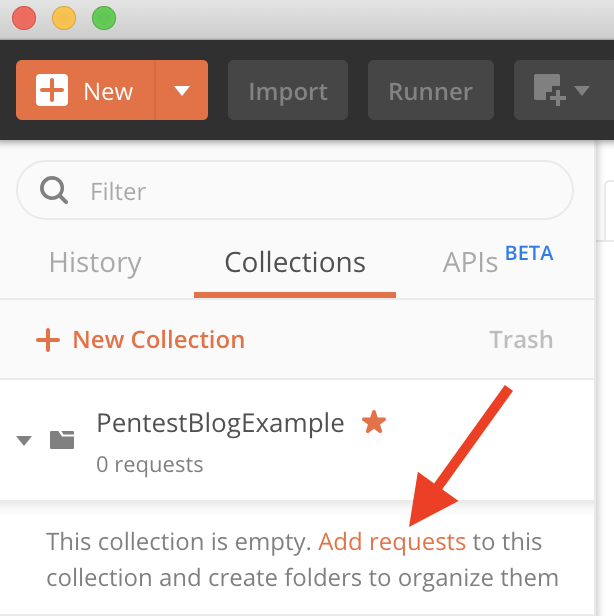
The newly created collection shows up on the left side. From here, click ‘Add Requests’ to add individual API requests to your collection.
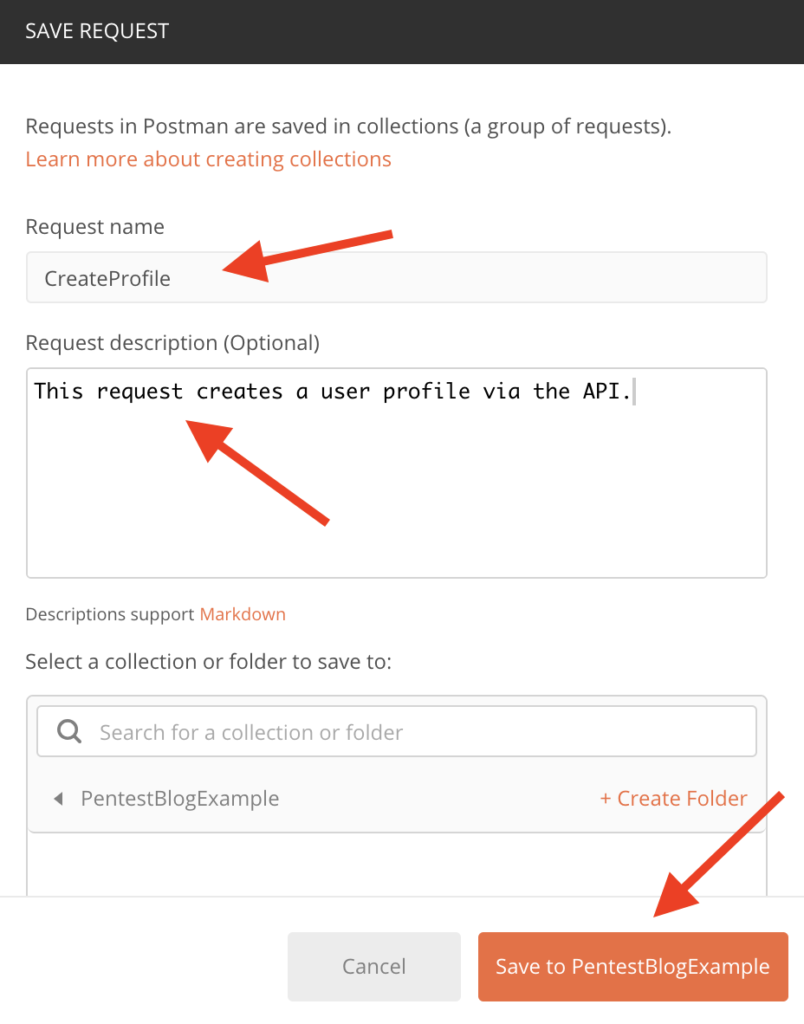
Give the API request a name, description, and click the Collection you just created. Afterwards, click the ‘Save to [Collection]’ button.
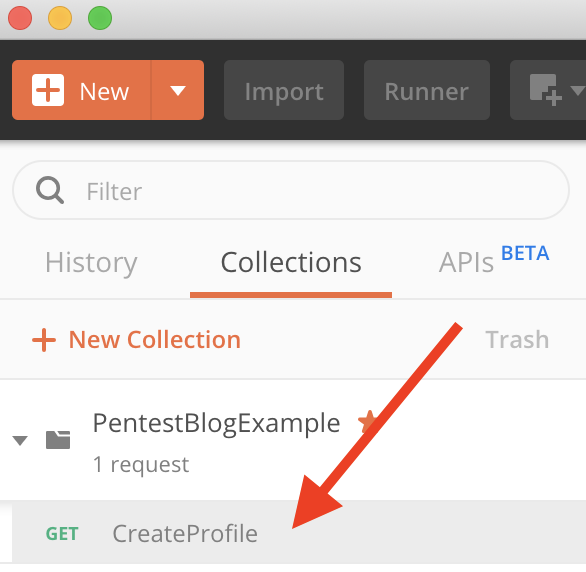
There is now an API request underneath the Collection. Select it to begin modifying it.
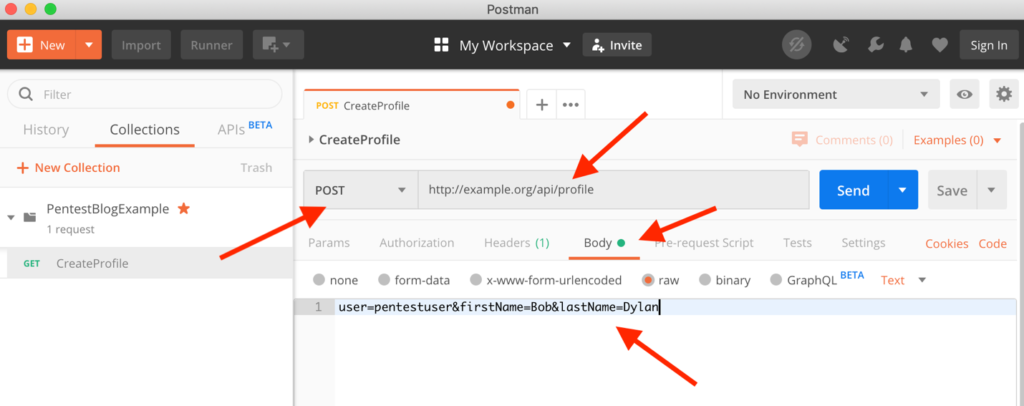
Now you can put in the raw details of how to call the API. At a bare minimum, enter the URL to connect to, change the HTTP method (if needed), and enter the request body details by clicking the ‘Body’ tab and clicking Raw.
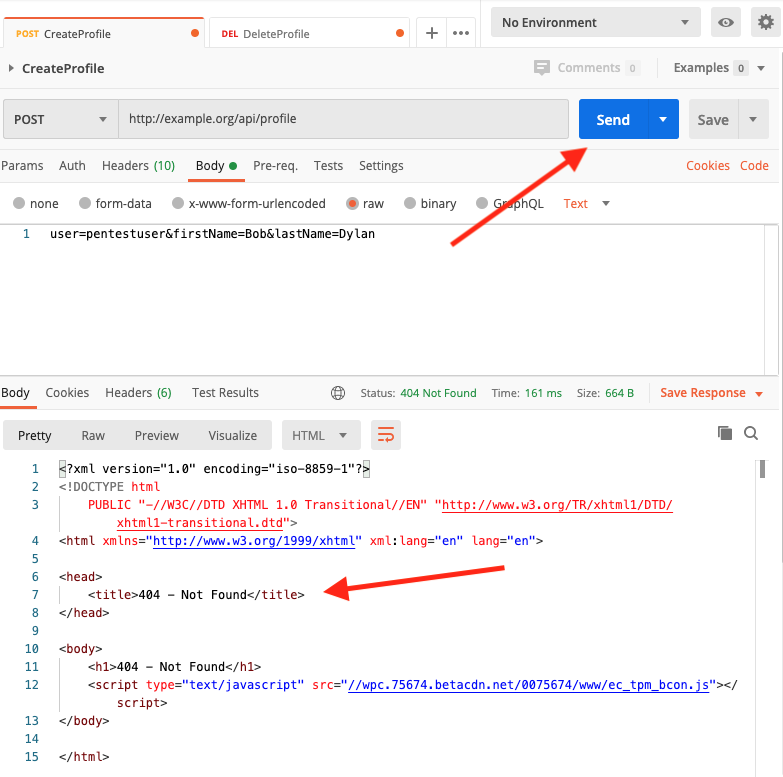
Once you have built the request and want to try it out, hit the ‘Send’ button to try out your API request. As we can see in my example, I still have a bit of work to go before it is a successful request.
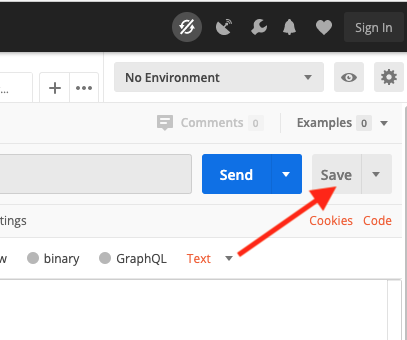
When you are done editing the API request, be sure to click the ‘Save’ button to commit the changes to the collection.
The types of data you can modify for your requests are quite customizable, so we recommend using Postman’s online help to build the best requests that works for you. https://learning.postman.com/docs/postman/launching-postman/introduction/
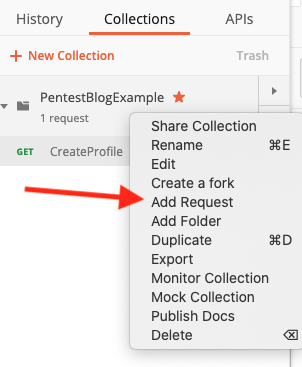
Repeat these steps to create as many API requests within your Postman collection as they exist within your application. To create additional new requests, right click the Collection and click Add Request.
Exporting Postman Collections
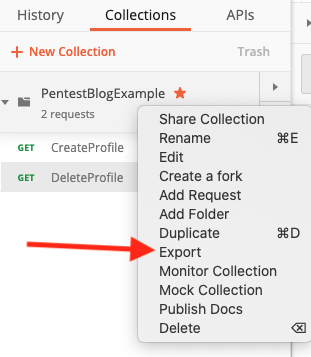
Exporting Postman collections is a fairly simple process. To start, right click the collection you want to share with the pentester and click ‘Export’.
Select the newest format available and click Export.
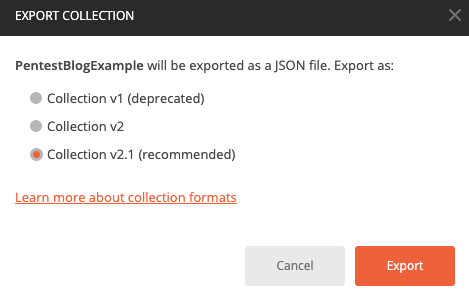
After entering a filename and location to save the file, this creates a .json file that can be loaded in the pentester’s Postman application. From here, coordinate with your pentester to send the data. Alongside any updated credentials or session information (such as authorization tokens), this might be all that is needed to ensure a successful API pentest!