When performing onsite social engineering engagements for clients, regardless of industry, 95% of the time you will see some sort of technology involving RFID utilized to manage access (interior and exterior doors, elevators, computer logins, etc..)
This series of posts will dive into some of the pitfalls for companies utilizing Radio Frequency Identification (RFID) based solutions to control physical access and how attackers can potentially exploit RFID to gain to buildings.
We will also discuss a publicly available toolset and demonstrate ways to utilize it during social engineering engagements. These attacks affect the entire physical access industry as a whole. Note that we will focus on a specific frequency of the RFID band (125kHz) however, the process can be applied to other RFID bands.
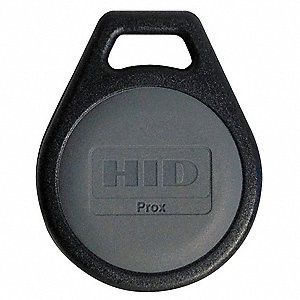
Some examples of the RFID technologies for this post:

Pentesting Tools for RFIDs
The Proxmark3 is probably the most popular toolset amongst hackers when it comes to RFID technologies. For purchase here – https://hackerwarehouse.com/product/proxmark3-rdv2-kit/. At the time of this post, it appears that there is a new version being released that will compact the device even smaller. If you have ever seen one of the first iterations of the device you would know the device was much larger, and the antenna bigger.

Setting Up Proxmark3 For RFIDs
Getting the device up and running is pretty straightforward. The community continues to ensure that Proxmark3 can support a multitude of technologies. The GitHub repository can be found here: https://github.com/Proxmark/proxmark3.
Under the Wiki section of the GitHub page, there are many how-to write-ups for different operating systems (Android, Kali, Ubuntu, Gentoo, openSUSE, Windows, and MacOS). In this post, I’ll be referring to the Kali installation guideline.
Using a newly downloaded Kali Linux virtual machine – the following command will get the necessary requirements installed:
sudo apt install git build-essential libreadline5 libreadline-dev gcc-arm-none-eabi libusb-0.1-4 libusb-dev libqt4-dev ncurses-dev perl pkg-config libpcsclite-dev pcscdAfter successfully installing the requirements we can now pull down the Proxmark project:
git clone https://github.com/Proxmark/proxmark3.gitNow we can change into the Proxmark3 directory:
cd proxmark3Finally, we can compile the application:
make clean && make allProxmark3 Connections
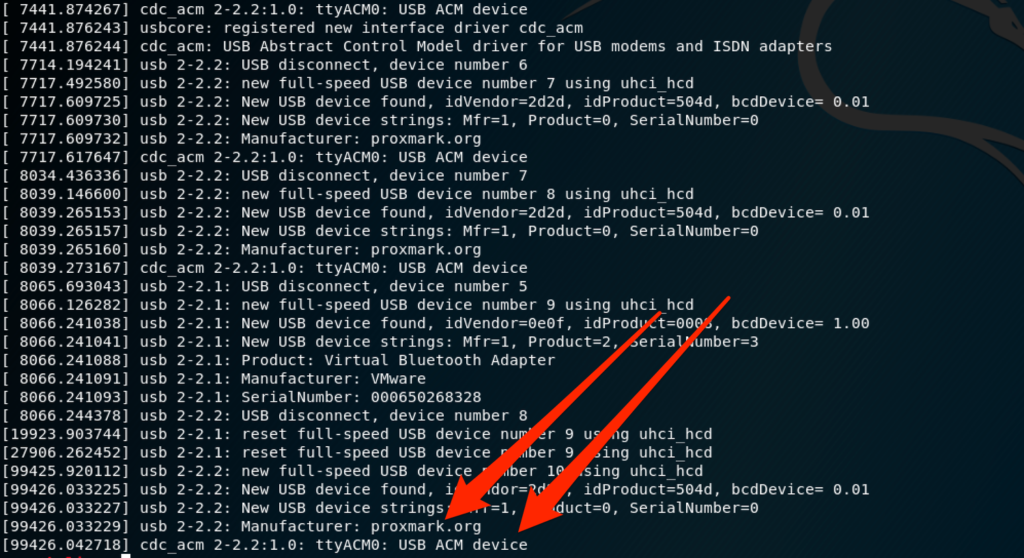
Time to plug the Proxmark3 into the computer. After plugging the device in, we can issue the following command to check if the device is recognized:
dmesg | grep -i usbAs we can see from the following screenshot the device location is going to be “/dev/ttyACM0”
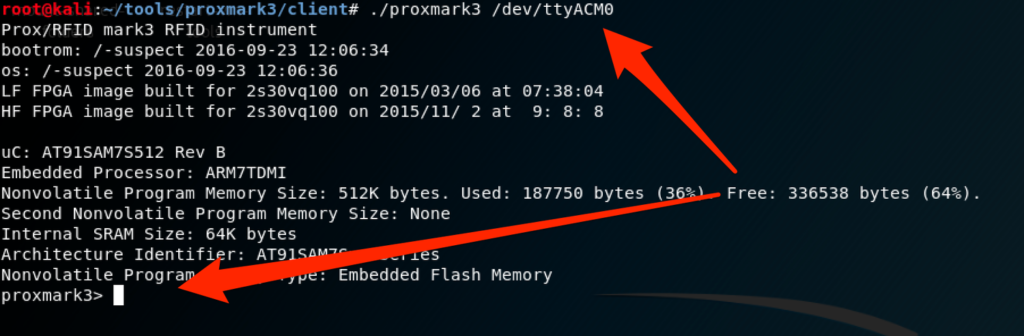
Now let’s connect to the device (be sure to run this command from within the proxmark3/client/ folder):
./proxmark3 /dev/ttyACM0The following screenshot shows a successful connection to the Proxmark3:
Reading & Cloning RFIDs
Now for the fun stuff…
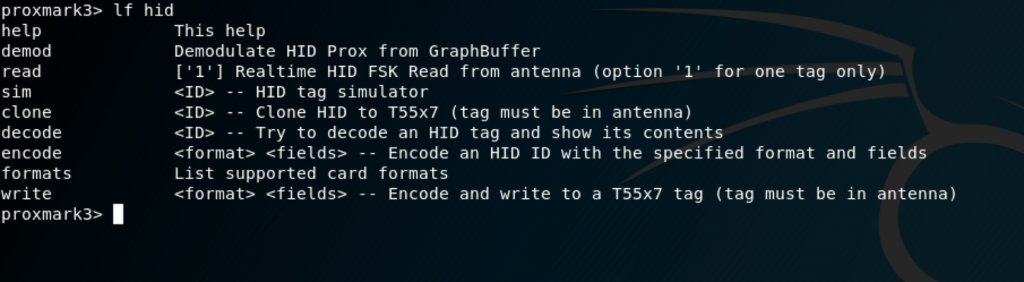
Let’s start off by looking at the specific Proxmark3 commands for the HID RFID cards. By issuing the following command the Proxmark3 device will return a help command section to provide with us a better understanding of each of the commands:
lf hidBelow is the screenshot of the command output:
The two main commands we are concerned with currently are the read & clone commands. The read command will attempt to read any HID RFID tag that comes within range and the clone command will attempt to write a specified HID identifier to an RFID tag.
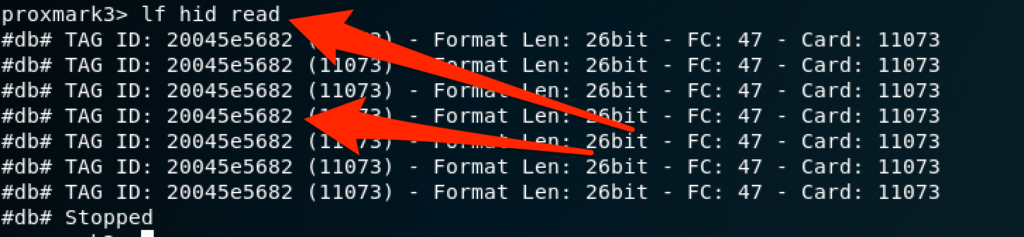
Let’s see it in action – first up is to read the RFID tag. The screenshot below shows the command being issued as well as the TAG identifier that we will need for cloning to a different RFID tag.
Utilizing the previously gained RFID identifier, we can clone it to a blank RFID tag, as seen in the screenshot below:

Proxmark3 & RFID Wrap Up
This wraps up the first post utilizing a Proxmark3 for social engineering engagements. In future blog posts, I will go through utilizing captured RFID tags for gaining access to sensitive areas of buildings and how to use a long-range RFID reader for up-close interactions.
Check out Part 2: Bruteforcing RFIDs blog post.
MORE FROM WHITE OAK SECURITY
White Oak Security is a highly skilled and knowledgeable cyber security testing company that works hard to get into the minds of opponents to help protect those we serve from malicious threats through expertise, integrity, and passion.