This is a story from one of our more recent Red Team engagements and what we did after gaining access to the target client’s environment. We breached the client’s perimeter through a fairly uncommon application server, however, due to the risk of that initial foothold our client chose correctly to close the access after we could demonstrate lateral movement capability. Having lost our foothold, we identified a new opportunity and gained access via their Citrix deployment. The full story surrounding the team’s accomplishment is best for another blog, however today we’ll discuss what we did after gaining access to the client’s Private Cloud Provisioning software.
Sometimes, on engagements, you don’t have the exact tools you’d like immediately available. This occurs occasionally during our Red Team engagements, where it would just be great if we just had nmap or Metasploit deployed somewhere inside our client’s environment. When we perform Internal Pentest engagements sometimes we’ll send a phone-home device instead of a consultant. Occasionally clients aren’t as comfortable about a potentially rogue device on their network, so we may build out a VM or a Kali container for them to deploy on their Private Cloud.
But let’s say that you’re performing a Red Team engagement and you’re able to gain access to your target’s Cloud Provisioning tools. You can certainly build a Virtual Machine for yourself and then install nmap and/or Metasploit. If you were to do this without using the Penetration Tester’s Framework (PTF) you might not have a fun time. Additionally, if your target has robust network monitoring in place you may want to carefully consider the repositories you’re pulling packages and source code from. And if your target is performing egress filtering either to the Internet or between secured segments within their cloud, then installing packages may not even be an option.
In this particular engagement, we decided the safest thing we could do was to deploy a Virtual Machine in their Private Cloud, install Docker on that VM, transfer a prebuilt Kali image onto the VM through a pivot host, and install the Kali image in Docker. Although the Kali image was quite large (around 1GB after compression), we knew ahead of time that the traffic volume was less likely to be noticed by their Blue Team than the hostnames associated with Kali packages and GitHub source code repositories.
Note: This blog assumes that you have some basic experience either installing or working with Docker.
Building a Kali Container Image and Transferring to a Target
So now we’ll walk you through the process we used but simulated in our lab environment. In this guide, we’ve created 2 VMs:
- docker – Our Docker build environment
- victim – Our simulated victim or target to deploy a prebuilt container
Step 1: Download The Base Kali Docker Image
Offensive Security was nice enough to provide a Kali Docker image and documentation accessible here: https://www.kali.org/news/official-kali-linux-docker-images/
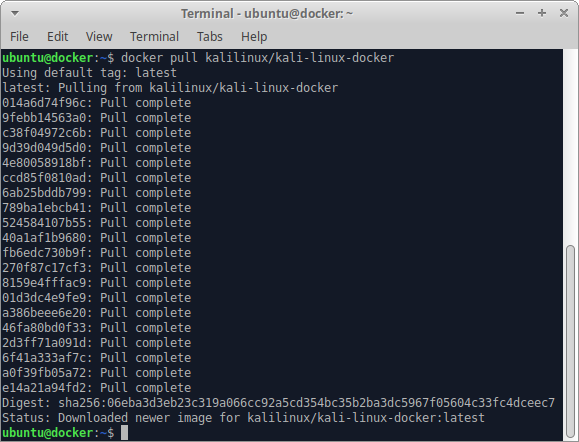
We start off by issuing the docker pull command necessary to pull the Kali image to our Docker builder VM:
docker pull kalilinux/kali-linux-docker
After the pull is complete our terminal looks like the following:
Step 2: Launch the Kali Container
After we launch the container we check, and see that msfconsole is definitely NOT installed by default:
docker run -t -i --name kali kalilinux/kali-linux-docker /bin/bash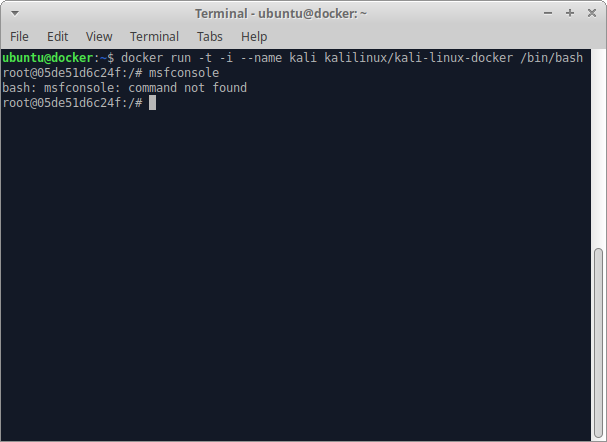
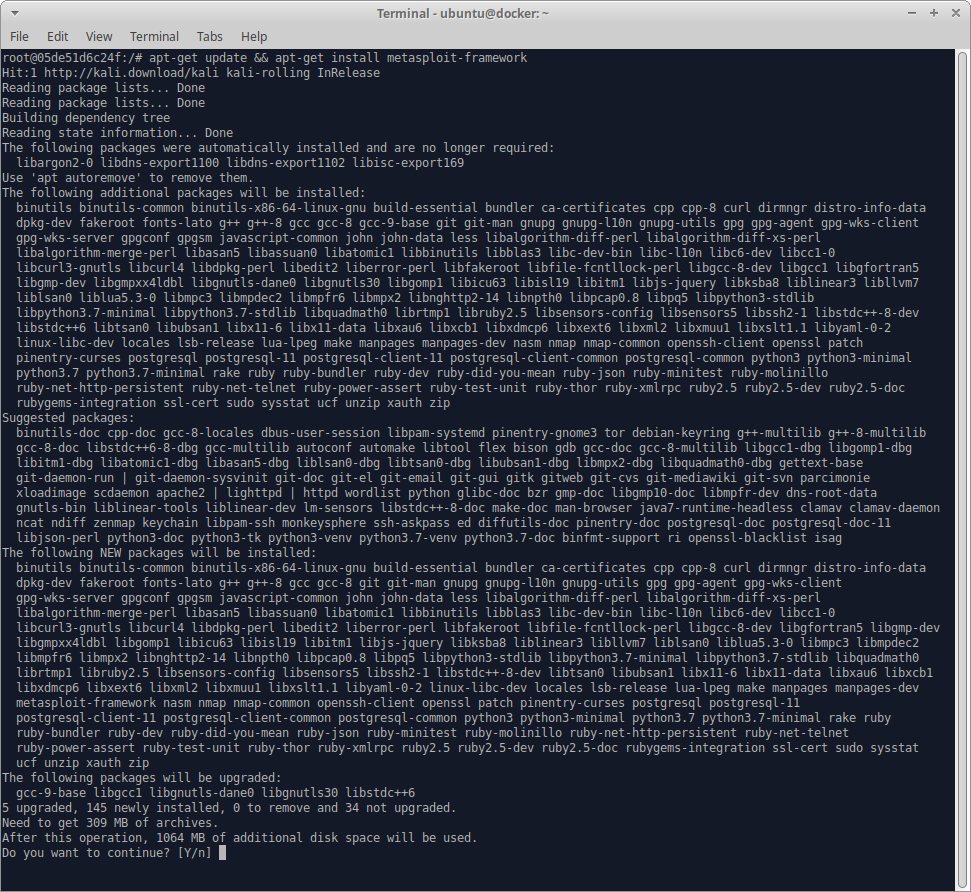
Step 3: Install Tools we Need
We definitely need Metasploit, so we’ll install that with:
apt-get install metasploit-framework and then wait several minutes until all the packages are installed.
Then we’ll check to make sure that it launches correctly:
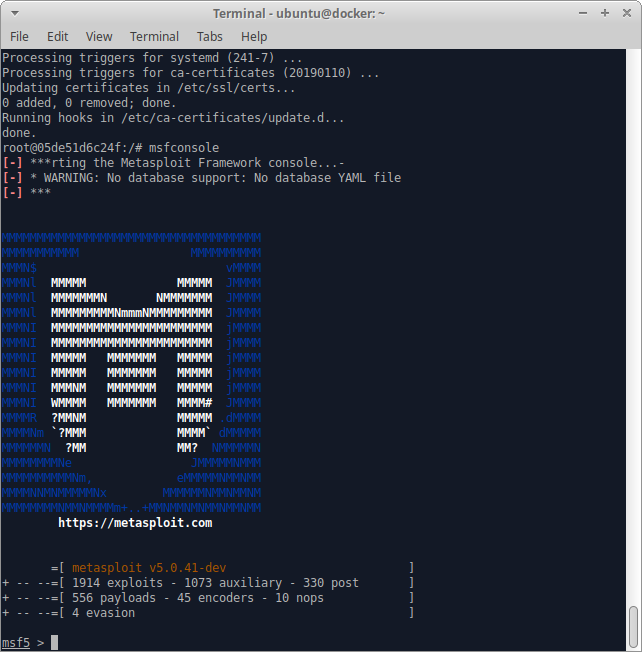
Excellent, now let’s make sure that we have nmap installed:
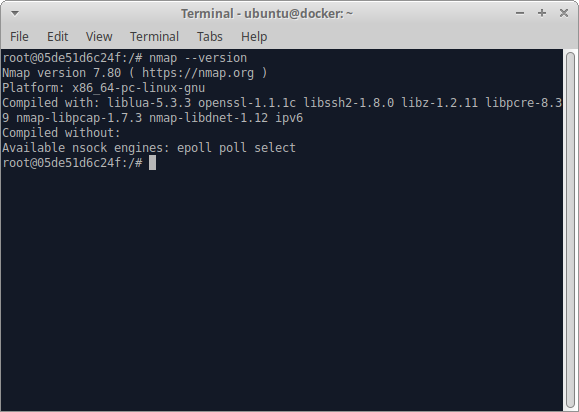
Perfect! What about ncat? Nope, so we’ll need to install that:
apt-get install ncat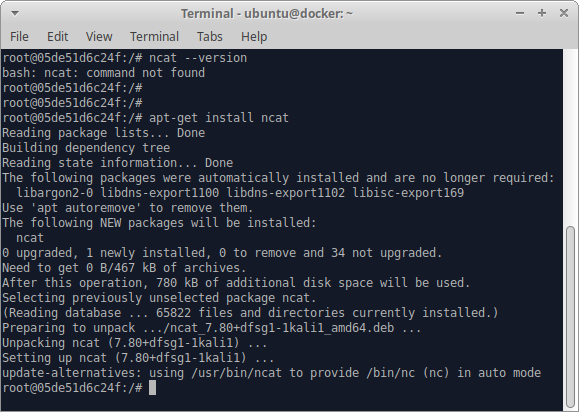
At this point you’ll want to check to see which other software you need installed to conduct your testing. You can perform a full Kali installation, however that would bloat your container image pretty significantly. Since this is a demonstration, we’ll stop installing additional tools and move onto exporting the container.
Step 4: Export a Container Image
Once we’ve exited our container we’ll need to run docker ps -a to list all containers, including ones that aren’t running:
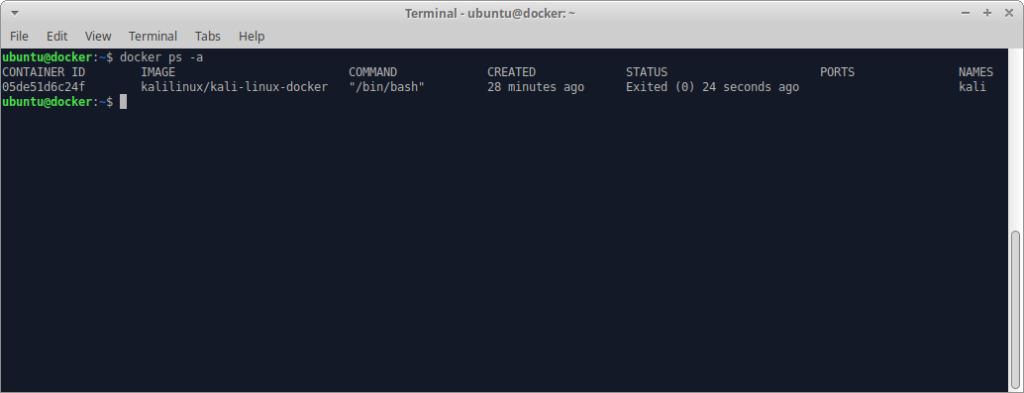
We need that CONTAINER ID for the export. In the next screenshot we see how easy it is to export a container image from a previously existing container:
docker export 05de51d6c24f > kali_export.tar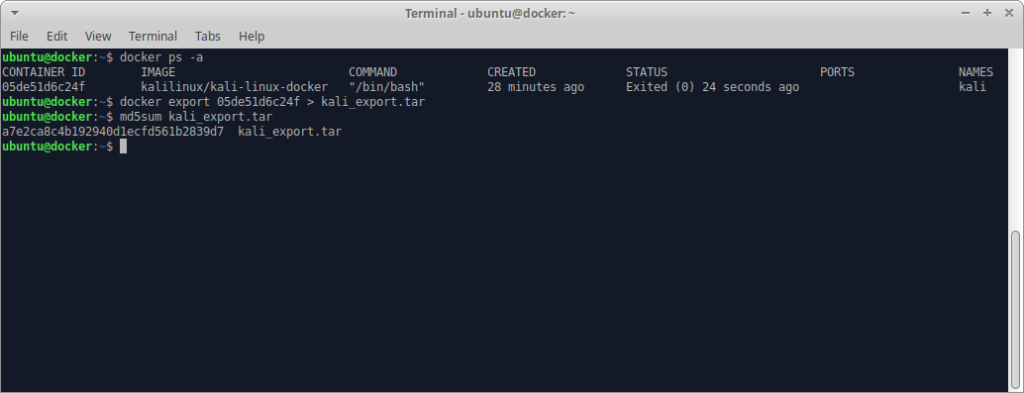
We also ran md5sum so that we can compare this tar file at the source and destination. Prior to transferring the tar file you’ll probably want to consider gzip or bzip2 to compress the image further, and depending on your target environment may need to split the file into smaller chunks for transfer.
Step 5: Installing the Kali Image on Your Target
This next section assumes that you’ve created a VM in your target’s network, or have compromised a VM or server running Docker, and that you’re able to connect to it via SSH.
After copying the Kali image to our VM we verify that MD5 signatures match. Then we install Docker:
apt-get install docker.io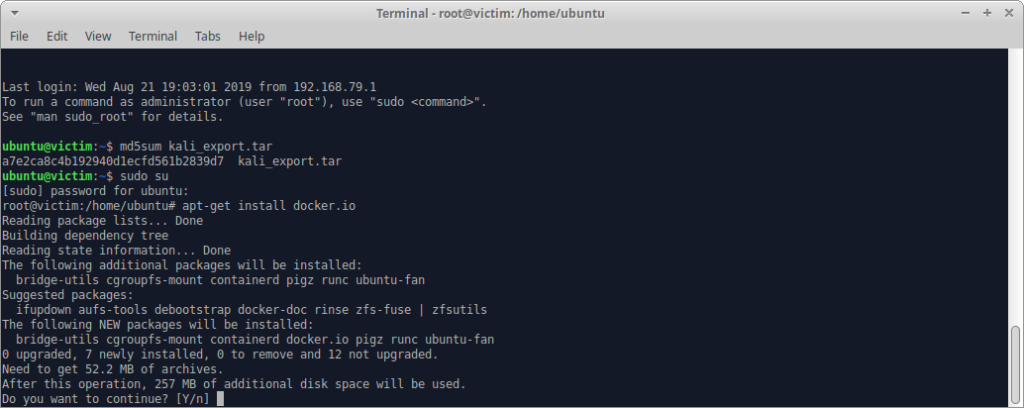
Once that’s complete, we insert the image into Docker’s local image repository, and verify that it’s present. We create a container image named totally-not-kali with the following command:
cat kali_export.tar | docker import - totally-not-kali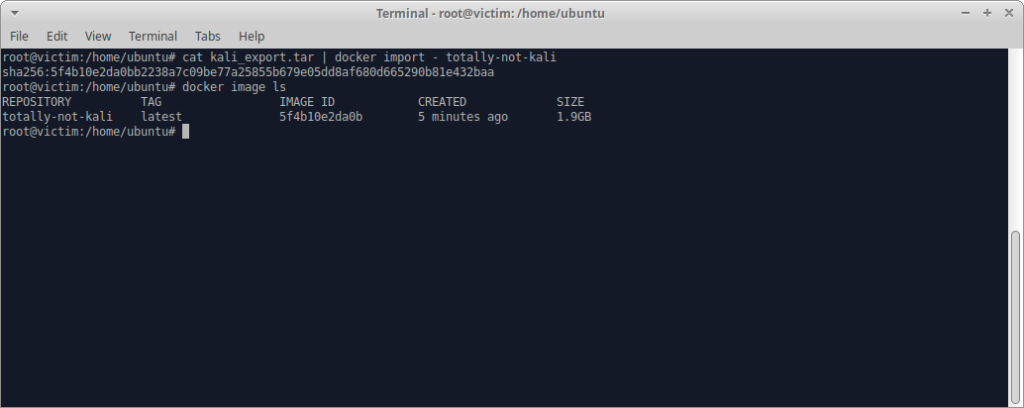
Step 6: Start Your Kali Container
In this step we’ve chosen to use the tmux Terminal Multiplexer on the VM hosting Docker so that we can both start a new container from the image we’ve supplied, as well as view that the container has been started and ports are open.
We can see in the top terminal that prior to creating the new container that there are currently no running/stopped containers. The next command starts a new container named definitely-kali from the image totally-not-kali:
docker run -t –i --name definitely-kali -p 80:80 -p 443:443 -p 4444:4444 totally-not-kali /bin/bash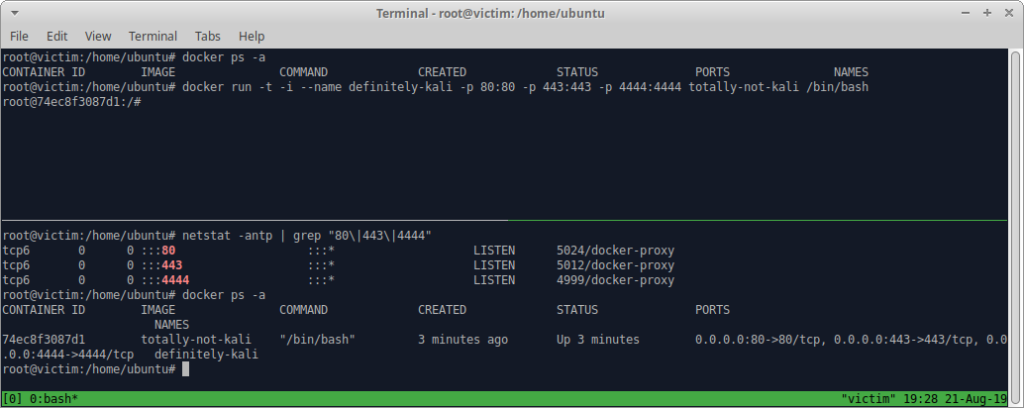
In the bottom terminal, we can see a netstat command displaying the ports we’ve selected to be opened (80/tcp, 443/tcp, 4444/tcp). Although the ports appear bound to the IPv6 stack, they’re actually accessible on the IPv4 stack. This is a quirk of Linux as is noted in: https://github.com/moby/moby/issues/2174
Wrap-Up
As you can see, it’s pretty easy to build a Kali container image and transfer it to another system hosting Docker. Provided that you’ve adequately prepped your container ahead of time you’ll have all the tools you need during your engagement and won’t risk setting off alarms by pulling additional software from the Internet!